
Make Coffee Better
Make Life Easier
-
2-Piece Modern Farmhouse Living Room Coffee Table Set, Nesting Table Round Natural Finish with Handcrafted Wood Ring Motif
$179.99 -
3 Tiers Farmhouse Coffee Station Table on Wheels
$80.99 -
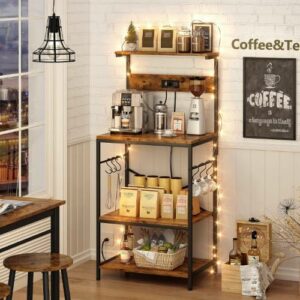
4 Tiers Coffee Bar Shelf with Power Outlet, Rustic Brown
$79.99 -
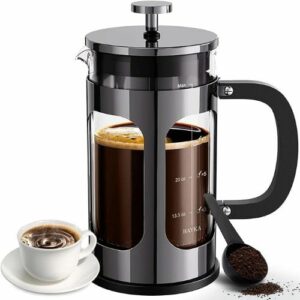
BAYKA 34 Ounce 1 Liter French Press Coffee Maker, Glass Classic Dark Pewter Stainless Steel Coffee Press
$25.99


Coffee Products
50+ Coffee Nook Essentials: The Ultimate Guide to Outfit Your Coffee Station
The Ultimate Guide: Best Single Serve Coffee Capsules for Your Taste Buds
Top Picks for Best Coffee Capsule Machines & Buying Guide
Non Coffee Drinkers Rejoice: The Best K Cups for Your Keurig Machine!
Menu Prices

Starbucks Menu Prices Guide for Coffee, Smoothies, and Teas

Explore the Secret Treasures of Blue Bottle Coffee Menu

Better Buzz Coffee Menu Prices Guide

Premium coffee Sourced directly from farmers; Merit Coffee Menu Prices

Best Coffee from Experienced baristas, Sandwiches, and Entrees: Coffee zone menu prices
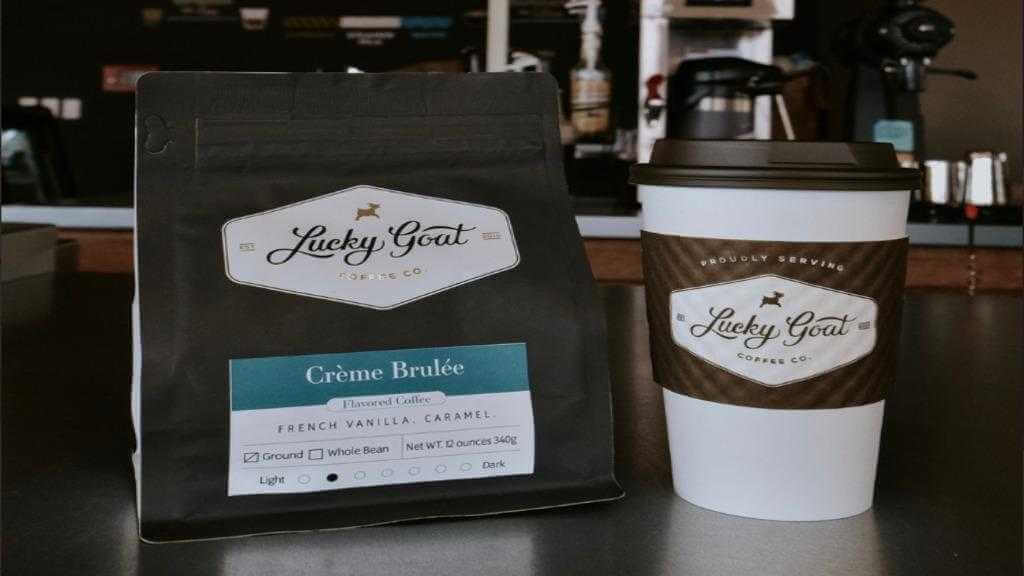
Premium Coffee isn’t by the Luck | Lucky Goat Coffee Menu Prices 2023
The Latest Posts…
-
Sora Sparks Creativity: How AI Tools Can Craft Your Next Coffee Ad Campaign

As you’ve likely heard, OpenAI recently released Sora, a groundbreaking AI text-to-video tool that can generate intricate 60-second videos. The possibilities for creative storytelling and captivating advertising are endless. Among the video examples Sora released is one titled “Ships in Coffee,” which showcases a mesmerizing battle between pirate ships within a steaming cup of coffee.…
-
Is Water at Starbucks Free? Here’s What You Need to Know
Are you a coffee lover who frequents Starbucks? If so, you’re probably aware that coffee shops can be quite expensive. But did you know that you can get free water at Starbucks? Water is essential for staying hydrated, especially when you’re drinking coffee, which can dehydrate you. Starbucks offers free filtered water to anyone who…
-
Uncovering Keurig Sickness: Symptoms and Solutions
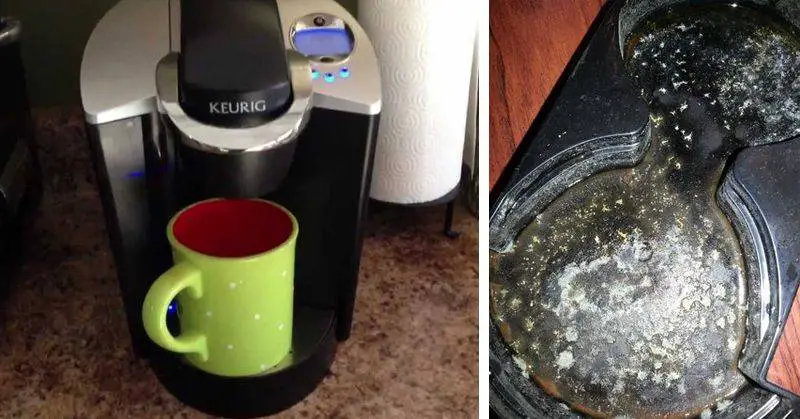
Keurig Sickness: Mold and Its Symptoms Keurig Sickness isn’t a medical diagnosis; it’s a term used to describe health concerns related to using Keurig machines. It’s not a widespread issue, but it’s essential to grasp the potential risks, especially when mold enters the picture. Mold, that pesky fungus, can find its way into your beloved…
-
The Truth Behind the Keurig Cancer Warning: Stay Informed
Among coffee aficionados and dedicated Keurig aficionados, the mention of the “Keurig cancer warning” has prompted discussions. This phrase has sparked inquiries and concerns regarding the safety of our beloved daily coffee fix. But what does this warning entail precisely, and how should it shape our coffee preferences? Let’s take a deep dive into this…
-
The Ultimate Guide to Keurig Water Filter Change

Do you ever wonder why your morning cup of coffee doesn’t taste as good as it used to? Or why your Keurig seems to be working a little less efficiently than when it was fresh out of the box? The answer might be simpler than you think – it’s time to replace your Keurig water…
-
Keurig Duo: Quick Fixes for Descaling Troubles
Welcome to our guide on Keurig Duo Descaling Troubleshooting. If you’ve encountered issues while descaling your Keurig Duo coffee maker, you’re not alone. Descaling is an essential maintenance task to keep your brews tasting fresh, and it’s common to run into a few hiccups along the way. In this post, we’ll explore some quick fixes…
-
Keurig Troubles: Dealing with K-Supreme Plus (K920) Descale Light Staying On
Keurig’s K-Supreme Plus (K920) is a fantastic coffee maker, but what do you do when its descale light just won’t seem to turn off? If you’ve found yourself in this sitwuation, you’re not alone. It’s a common issue that can be a bit frustrating. However, there’s no need to worry; we’ve got solutions for you.…
-
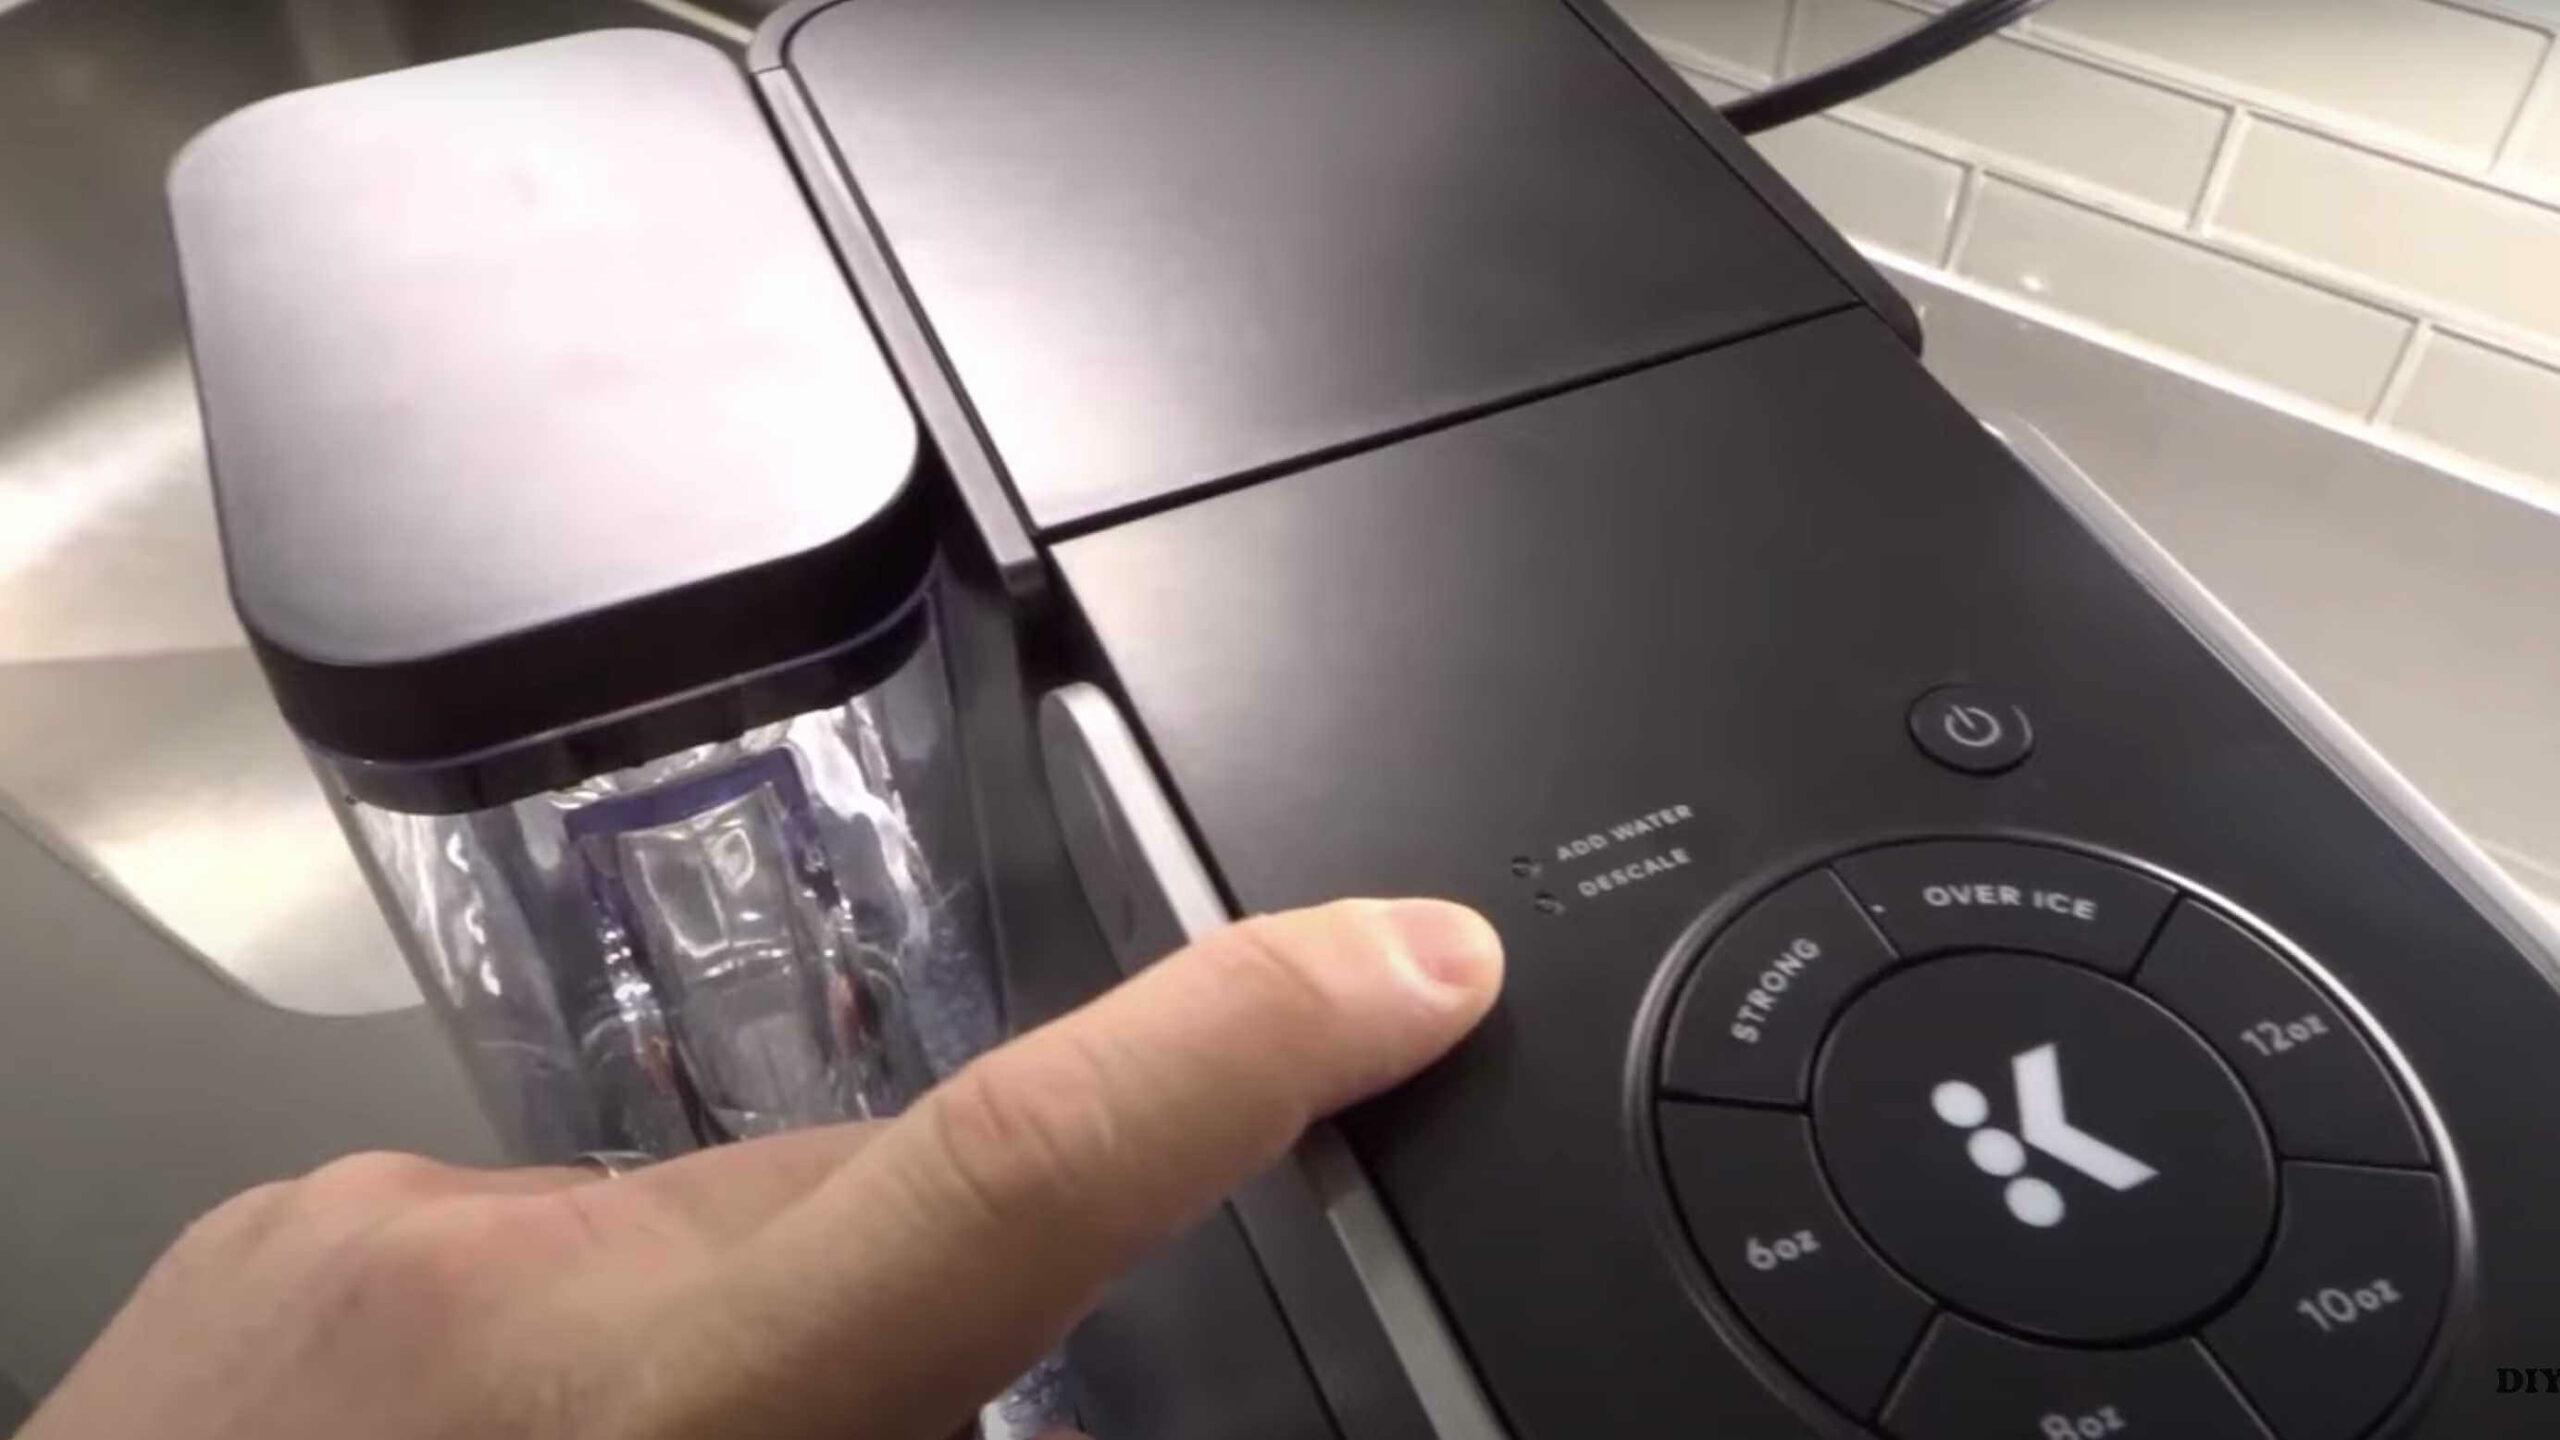
How to turn off descale light on keurig supreme?
Is your morning coffee routine interrupted by that stubborn descale light on your Keurig Supreme? Fret not; we’ve got the quick fix to get your coffee flowing smoothly again. Before we dive into the secrets of turning off that nagging descale light on your Keurig Supreme, let’s understand why it lights up in the first…
-
Starbucks Menu Prices Guide for Coffee, Smoothies, and Teas
Starbucks reigns supreme in the world of coffee. With a global presence of over 33,300 stores spanning 8 countries, its dominance in the coffee business is undeniable. Admittedly, Starbucks’ popularity comes with a slightly higher price tag compared to its competitors. Nevertheless, the exceptional quality ensures that every sip or bite of your drink or…